Assigning an assessor or loss adjuster

Written by Wilbur Admin
Updated at December 21st, 2020
Searching and requesting an Assessor
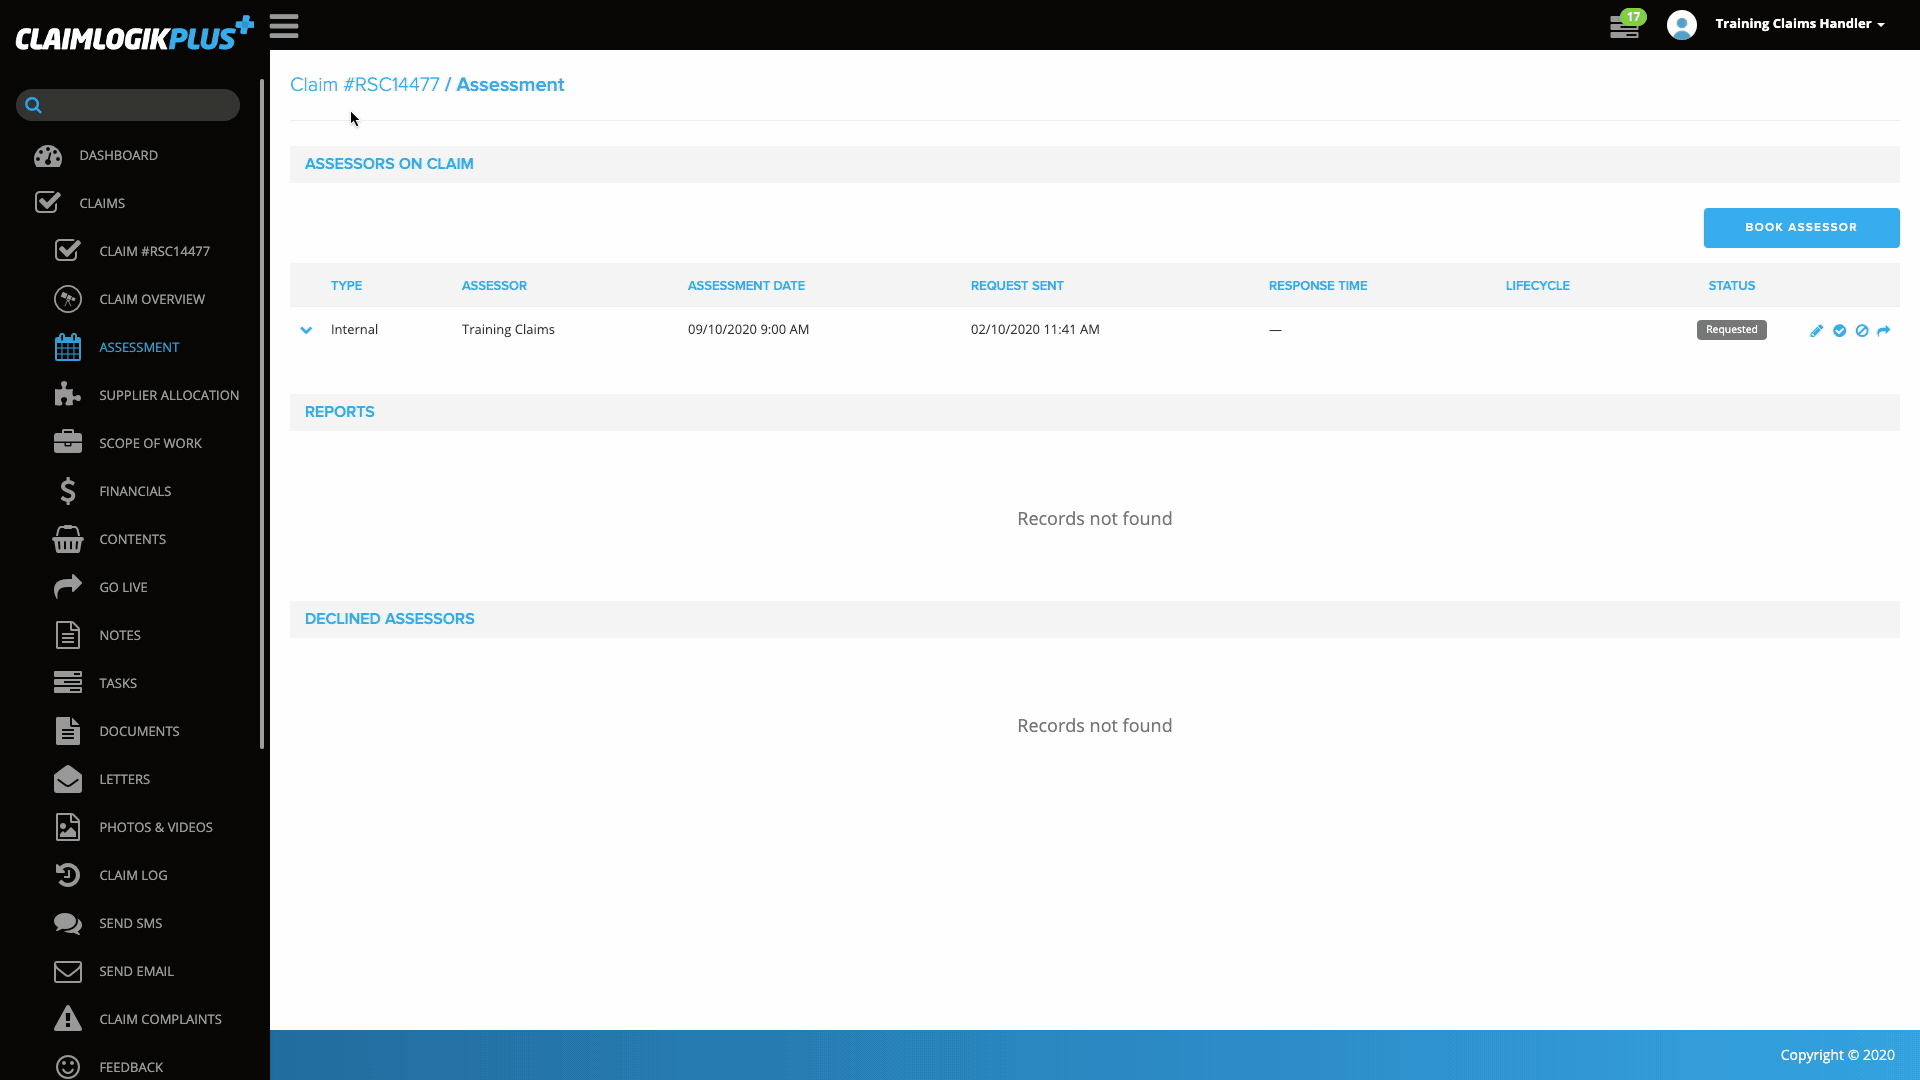
- Select ‘ASSESSMENT’ from the left-hand side menu
- Click the ‘BOOK ASSESSOR’ button
- A pop-up window will display
- You will be asked to choose from Staff (Internal employee) or Adjusting Firms (External Loss adjusters), click the radio button
 next to the option you would like to book
 - Click ‘CHOOSE’ to confirm that option and move onto the next screen
- If you select ‘Staff’ (Internal Assessor);
- You will be provided with a drop-down labelled ‘Assessor’ of the Assessors available in the system.
- Fill in the preferred date and time of the assessment (required).
Note: the time defaults on submitting the booking to 12:00 am, therefore this will need to be adjusted to the correct time before clicking ‘SUBMIT’. - You can then provide two additional alternate date and times from the provided fields (optional).
- You are then given a field to provide a message to the assessor (optional).
- Provide the best Contact Number and Email Address in the provided fields.
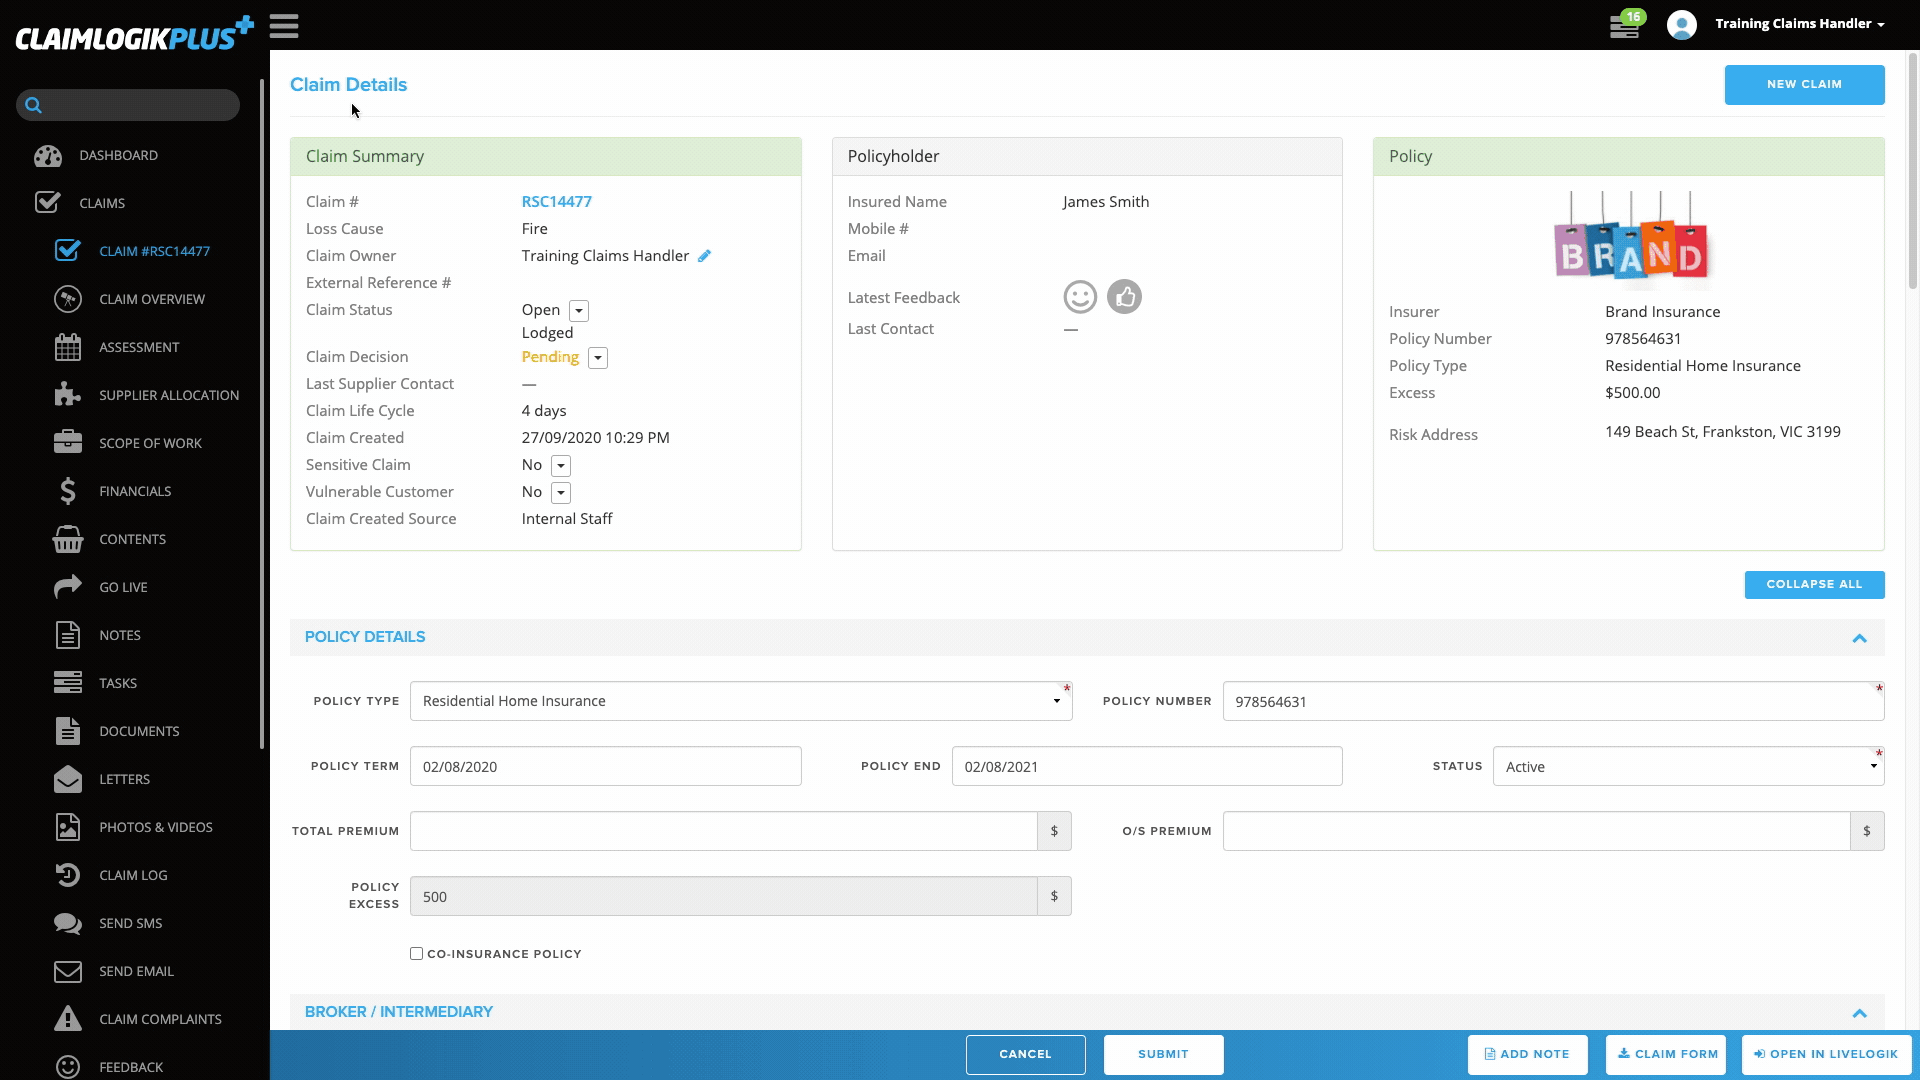
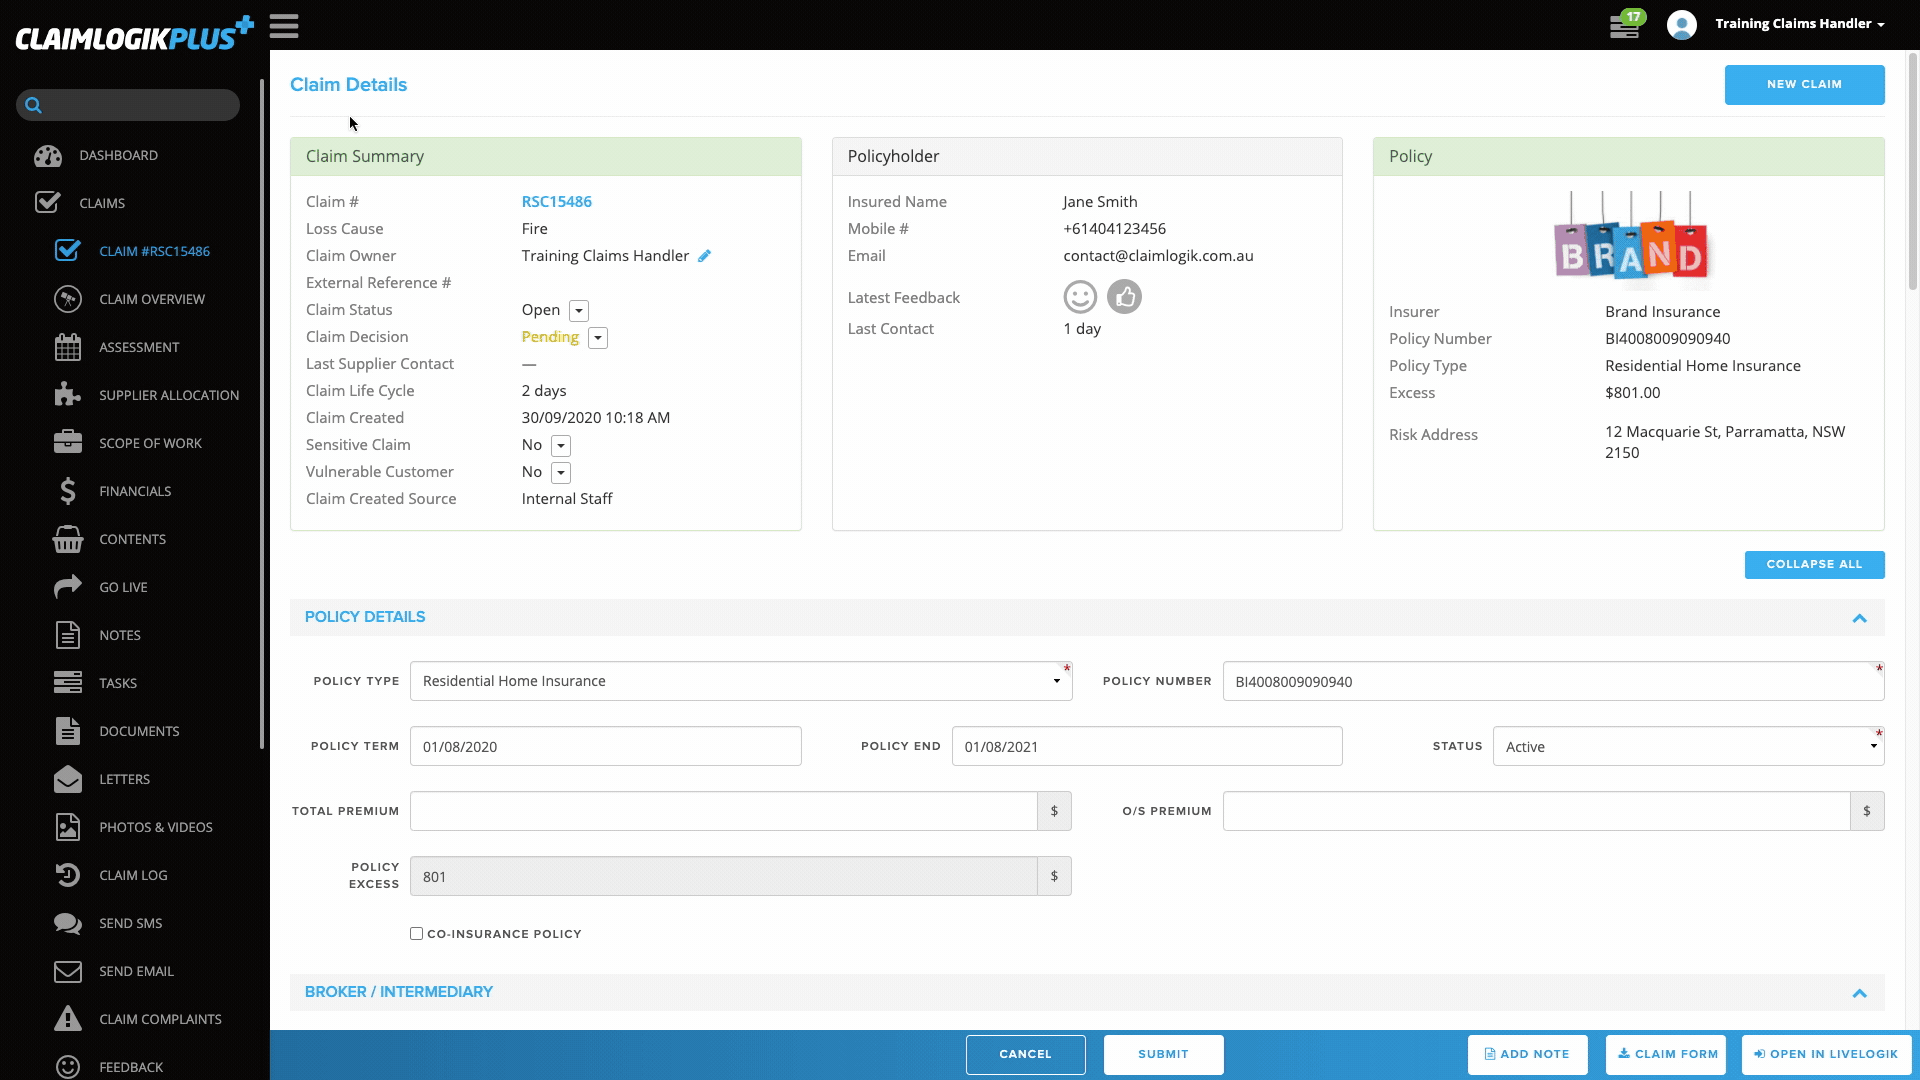
Note: This is populated from the policyholder details from the claim form. - Once you have entered the data into the form click ‘ASSIGN’.
- This will send an email notification to the Assessor and allow the Assessor to see the job in their ‘JOB REQUESTS’ section.
- If the Assessor accepts the booking the status will change from ‘Requested’ to ‘Accepted’, if the Assessor declines the booking the status will change from ‘Requested’ to ‘Cancelled’ and the job will move to ‘DECLINED ASSESSORS’. See Supplier/Job Requests training module for guidance on accepting and declining an Assessment.
- Note: this action will trigger a configurable activity to send a notification via note or email to the Claim Owner.
- If you select ‘Adjusting Firms’ (External Assessor):
- A pop-up will display asking you to confirm the address, it will auto-fill with the loss location from the claim form.
- You will also be provided with a drop-down labelled ‘SUPPLIER TYPE’, where you can choose the service that you require from the available options.
- Click the ‘FILTER’ button after making your selections above and a list of available suppliers will be displayed.
- Available suppliers will be listed, click the arrow icon
 next to the Suppliers name to view the following additional information.
- Star rating – This is their current star rating (out of five stars). This rating is provided by the insured after completion of a repair. Initially, all suppliers are given zero stars.
- Job History – This is a break down of jobs this supplier has accepted and completed for all tenants and the tenant that you work for.
- Contact Details – Full name, email, phone number and address of the supplier’s main contact.
- To select the supplier, click on their name ensuring the name is highlighted in blue.
- Upon selecting the supplier, click ‘CHOOSE’ to confirm the selection.
- You will then be provided with another pop-up message similar to the internal staff booking form.
- Fill in the preferred date and time of the assessment.
- You can then provide two additional alternate date and times from the provided fields (optional).
- You are then given a field to provide a message to the assessor (optional).
- Provide the best Contact Number and Email Address in the provided fields.
- Once you have entered the data into the form click ‘ASSIGN’.
- This will send an email notification to the Adjusting Firm and allow the Adjusting Firm to see the job in their ‘JOB REQUESTS’ section.
- If the Adjusting Firm accepts the booking the status will change from ‘Requested’ to ‘Accepted’. If the Adjusting Firm declines the booking the status will change from ‘Requested’ to ‘Cancelled’ and the job will move to ‘DECLINED ASSESSORS’.
- Note: this action will trigger a configurable activity to send a notification via note or email to the Claim Owner.
- Star rating – This is their current star rating (out of five stars). This rating is provided by the insured after completion of a repair. Initially, all suppliers are given zero stars.
- Once the page refreshes, you will then see the assigned Assessor/Loss Adjuster added to the ‘ASSESSORS ON CLAIM’ table.
- Click the down arrow icon
 to view a summary of the booking details.
Update Assessment Details
- Click the pencil icon
 to edit the Assessment Details
 - Click the tick icon
 to accept assessment on the Assessor’s behalf.
- This will change the status of the assessment from ‘Requested’ to ‘Accepted’.
- Click the cancel icon
 to deallocate assessmenton the Assessor’s behalf.
- This will change the status of the assessment from ‘Requested’ to ‘Cancelled’.
- Note: this action will trigger a configurable activity to send a notification via note or email to the Claim Owner.
- Click the arrow icon
 (if available) to Go-Live with the insured.
 - A pop-up will display
- Enter the mobile, email address or both and then click send
- Note: Refer to the Live Logik module for more information about this feature.